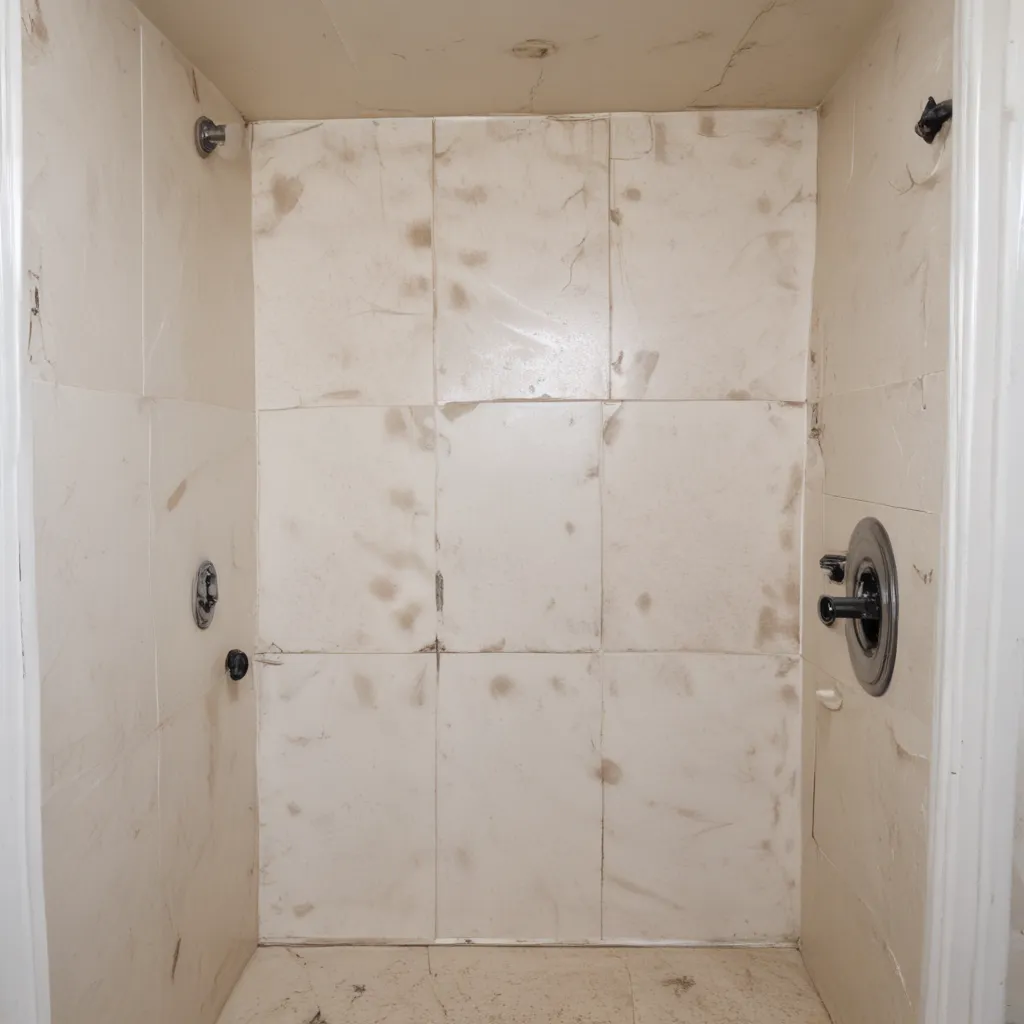
Understanding the Causes of RV Shower Stall Cracks
Have you ever stepped into your RV’s shower, only to be greeted by a spider web of hairline cracks staring back at you? This unsightly and potentially problematic issue is all too common among recreational vehicle owners, but fear not – I’m here to shed some light on the causes and provide you with a step-by-step guide to repairing those pesky cracks.
Let’s start by delving into the primary reasons why RV shower stalls can develop cracks. The culprit is often the constant flexing and shifting of the RV’s body as it navigates the open road. You see, RVs are designed to be lightweight and nimble, which means that the materials used in their construction, including the shower stall, are inherently more prone to stress and strain.
Another contributing factor is the frequent exposure to moisture and temperature changes. RV showers experience a lot of humidity, steam, and rapid temperature fluctuations, which can cause the materials to expand and contract, ultimately leading to cracks and structural weakening over time.
Interestingly, the type of material used in the shower stall construction can also play a role. Fiberglass, for example, is a popular choice due to its lightweight and durability, but it can become brittle and crack under prolonged stress and strain. Acrylic, on the other hand, is more flexible and resistant to cracking, but it may not hold up as well to the rigors of RV life.
Assessing the Damage and Preparing for Repair
Now that we’ve explored the underlying causes, let’s move on to the assessment and preparation stage. The first step is to closely inspect the shower stall, both visually and by gently running your fingers along the surface. This will help you determine the extent of the damage and identify any areas that require immediate attention.
Are the cracks hairline and superficial, or are they deeper and more widespread? The severity of the damage will dictate the approach you’ll need to take. Smaller, localized cracks may be manageable with a simple patching procedure, while larger or more extensive cracks may require a more comprehensive repair.
Once you’ve assessed the situation, it’s time to gather the necessary tools and materials. You’ll need a reliable epoxy or acrylic-based shower stall repair kit, which typically includes a filler compound, a bonding agent, and a smoothing tool. Additionally, you may want to have on hand a clean rag, some sandpaper, and a well-ventilated work area – safety first, my friends!
Applying the Repair Compound
With your supplies ready, it’s time to roll up your sleeves and get to work. The key to a successful RV shower stall repair is in the preparation. Start by thoroughly cleaning the affected area, removing any debris or loose material that could interfere with the bonding process.
Next, lightly sand the surface around the cracks to create a slightly roughened texture, which will help the repair compound adhere more effectively. Be sure to wipe away any dust or residue, ensuring a clean, dry surface for the application.
Now, it’s time to mix the repair compound according to the manufacturer’s instructions. This is where the magic happens! Carefully apply the compound into the cracks, filling them to the flush with the surrounding surface. Use the provided smoothing tool to ensure a seamless, well-blended finish.
One of the most critical steps in this process is allowing the compound to fully cure and harden. Patience is key, my friend. Depending on the product you’re using, this can take anywhere from a few hours to a full day or more. During this time, it’s essential to avoid using the shower and keep the area clean and dry.
Finishing Touches and Preventative Measures
Once the repair compound has cured, it’s time to put the finishing touches on your RV shower stall transformation. Gently sand the area to ensure a smooth, even surface, then wipe away any remaining dust. If necessary, you can apply a matching paint or sealant to blend the repaired area seamlessly with the rest of the shower stall.
Now that your shower stall is back in tip-top shape, let’s discuss some preventative measures to help keep those pesky cracks at bay. One key strategy is to regularly inspect the shower stall for any signs of wear and tear, addressing issues before they have a chance to escalate.
Additionally, be mindful of the way you use and maintain your RV’s shower. Avoid excessive scrubbing or using abrasive cleaners, as these can contribute to the deterioration of the shower stall material over time. Instead, opt for gentle, RV-safe cleaning products and a soft-bristle brush.
Finally, consider investing in a high-quality shower stall liner or panel. These protective barriers can help to absorb the impacts and stresses of RV travel, reducing the likelihood of cracks and other damage. It’s a small investment that can pay dividends in the long run.
Wrapping Up: Your RV Shower Stall, Revitalized and Ready for Adventure
There you have it, folks – a comprehensive guide to repairing those unsightly cracks in your RV shower stall. By understanding the underlying causes, properly assessing the damage, and applying the right repair techniques, you can give your shower a new lease on life and keep it looking and functioning like new.
Remember, with a little elbow grease and attention to detail, you can conquer those cracks and reclaim your RV’s shower as a sanctuary of relaxation and rejuvenation. So, what are you waiting for? Grab your tools, roll up your sleeves, and let’s get to work on revitalizing your RV’s shower stall – your next adventure awaits!
If you’re located in Orange County, California and need further assistance with your RV or fleet vehicle repairs, be sure to check out Orange County RV Repair. Their team of experienced technicians is well-versed in resolving a wide range of issues, including cracked shower stalls, and they’re always happy to lend a helping hand.
