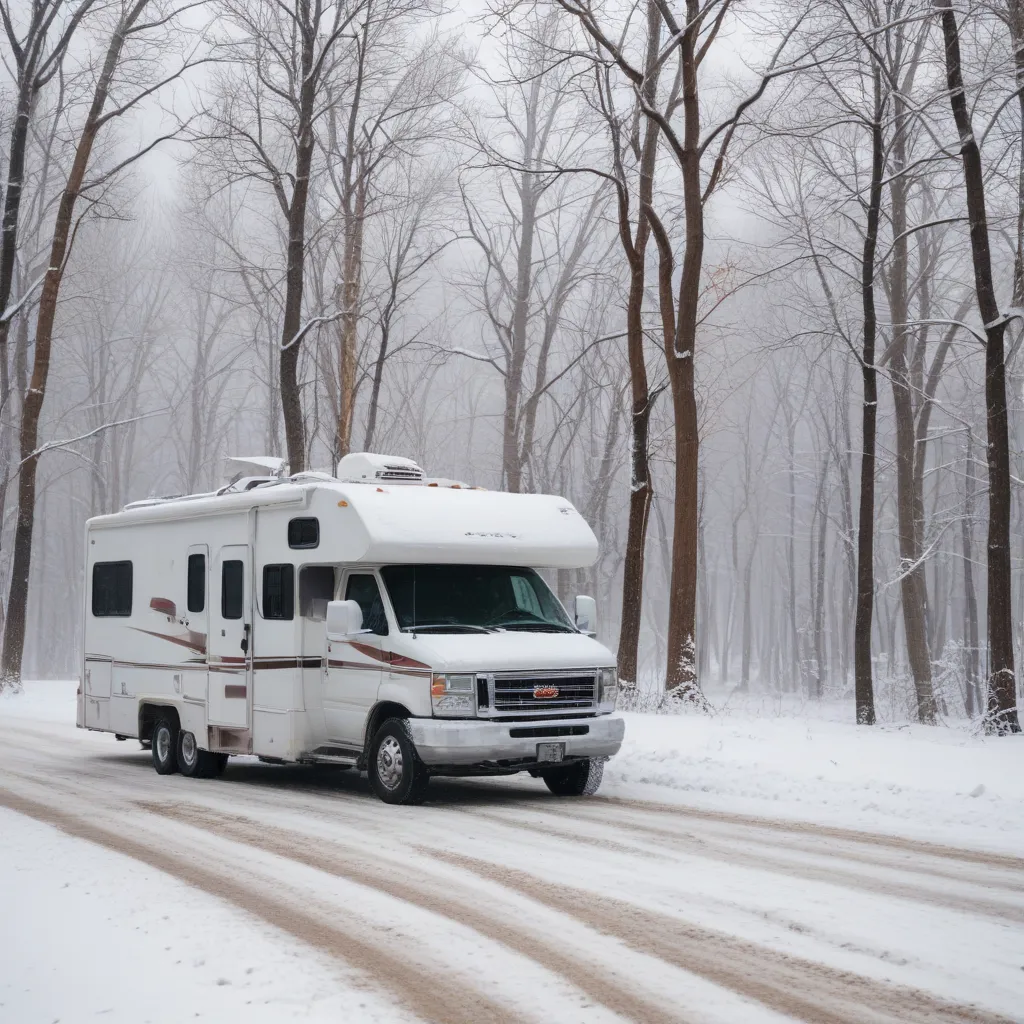
Brrrr, It’s Freezing Out There!
As the leaves start to turn and the crisp autumn air sets in, I can’t help but shiver a little. You know what that means – winter is just around the corner! And for us RV enthusiasts, that means it’s time to start thinking about winterizing our beloved vehicles.
I’ll be the first to admit, winterizing an RV can be a real pain in the you-know-what. But trust me, taking the time to do it right can save you from a whole lot of heartache (and costly repairs) down the road. That’s why I’ve put together this comprehensive guide filled with quick and easy winterizing tips to help protect your RV from those dreaded freezing temps.
Dealing With Water Lines and Tanks
One of the most important – and often overlooked – aspects of winterizing an RV is properly draining and protecting all the water lines and tanks. After all, water expands when it freezes, and that can spell disaster for your RV’s plumbing system.
I always start by locating the low point drain valves on my RV’s water lines. These are usually found underneath the RV, near the water heater or holding tanks. I’ll open up those valves and let all the water drain out, making sure to get every last drop.
Next, I’ll hook up a handy-dandy winterizing kit to my RV’s water system. This typically involves attaching a hose to the city water inlet and running a non-toxic RV antifreeze solution through the entire plumbing system. I make sure to hit every faucet, shower, and toilet until I see the pink stuff coming out. This ensures all the water lines are fully protected.
Speaking of tanks, don’t forget to drain your fresh water, gray water, and black water tanks as well. You can do this by opening up the valves and letting gravity do its thing. I also like to add a bit of RV antifreeze to the tanks to keep things from freezing up.
Protecting the Exterior
Once I’ve got the water situation under control, I move on to protecting the exterior of my RV. This includes things like the slide-outs, awnings, and tires.
For the slide-outs, I make sure to fully retract them and then apply a generous coating of silicone lubricant to the seals. This helps prevent them from drying out and cracking during the winter months.
As for the awnings, I always make sure to roll them up nice and tight before the cold weather hits. This protects the fabric from snow and ice buildup, which can cause serious damage if left unchecked.
And let’s not forget about the tires! I like to invest in some high-quality RV tire covers to keep the elements at bay. These handy little gadgets help insulate the tires and prevent dry rot, cracks, and other cold-weather related issues.
Taking Care of the Interior
Alright, now that the exterior is taken care of, it’s time to focus on the interior of the RV. This is where I really get to flex my winterizing muscles!
First up, I always make sure to clean out the refrigerator and freezer, removing any perishable items. I’ll also prop the doors open slightly to allow for air circulation, which helps prevent mold and mildew from taking over.
Next, I’ll tackle the water heater. I’ll turn off the power and drain the tank completely, just to be on the safe side. And if my RV has a residential-style refrigerator, I’ll make sure to turn off the ice maker and water supply line as well.
Speaking of power, I always unplug any unnecessary electronics and appliances before heading into the winter months. This not only helps conserve battery life, but it also reduces the risk of electrical issues or fires while my RV is in storage.
Covering Up and Storing Properly
Last but not least, it’s time to give my RV a nice, cozy winter coat! I like to invest in a high-quality RV cover that’s specifically designed to withstand the elements. These covers help protect the exterior from snow, ice, and other winter nasties, and they even provide a bit of insulation to help keep the interior temperature regulated.
And when it comes to storage, I always make sure to find a safe, secure spot that’s out of the elements. Ideally, I’ll tuck my RV away in a covered storage facility or even a friend’s garage if possible. This helps shield it from the harsh winter weather and gives me peace of mind knowing my beloved vehicle is being well taken care of.
So there you have it, my friends – a comprehensive guide to quickly and effectively winterizing your RV. By following these tips, you can rest easy knowing that your home-on-wheels is ready to brave the coldest of winters.
Now, if you’ll excuse me, I think I’m going to go make myself a nice, hot cup of cocoa and cozy up next to the fireplace. Winter may be coming, but I’m ready for it!
