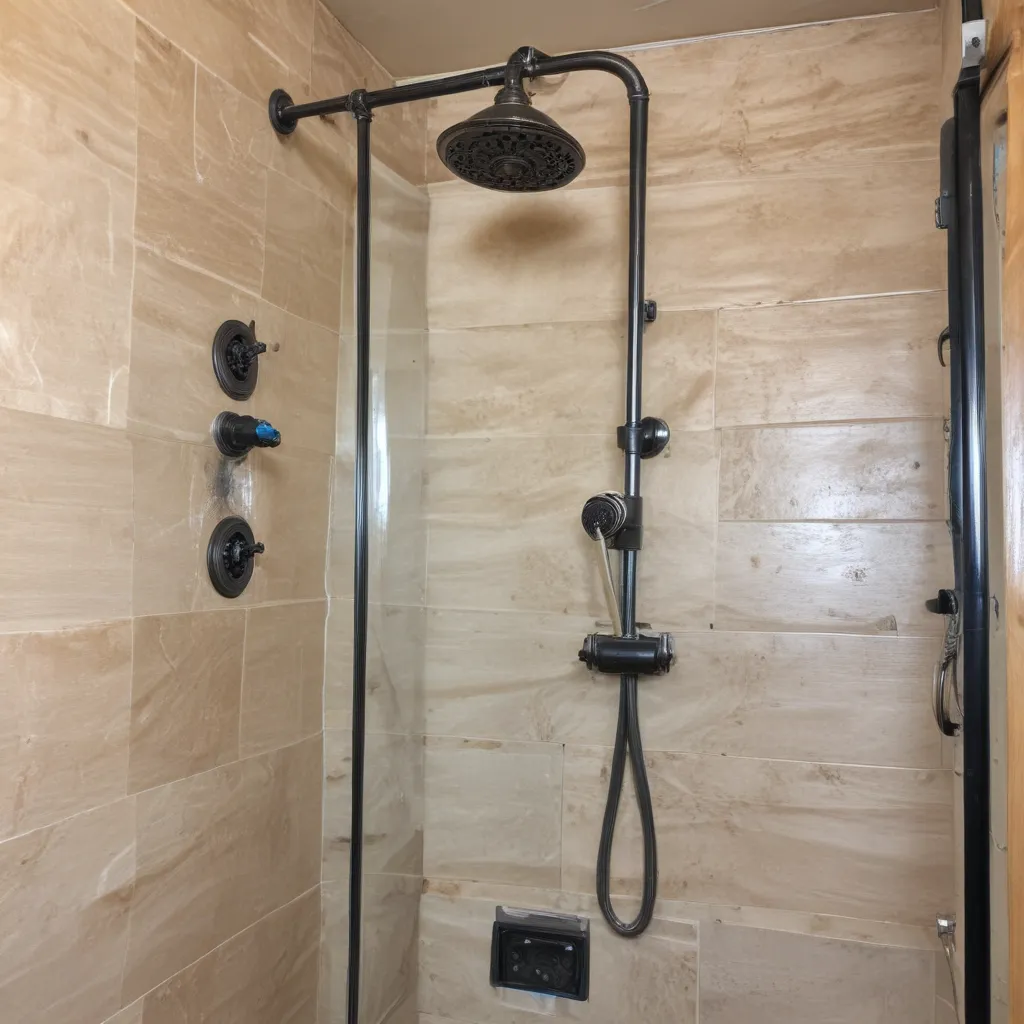
Uncovering the Mysteries of RV Shower Maintenance
As an RV enthusiast who has tackled my fair share of shower-related conundrums, I can confidently say that keeping your RV’s shower in tip-top shape is no simple task. But fear not, my fellow adventurers – I’m here to share my hard-earned wisdom and guide you through the ins and outs of DIY RV shower repairs.
So, you’ve noticed that your RV shower is starting to act up – maybe the water pressure is dwindling, the tiles are cracking, or the curtain is in desperate need of replacement. Don’t panic! These issues are more common than you might think, and with a little elbow grease and some know-how, you can have your shower back in pristine condition in no time.
Let’s start with the basics: understanding the anatomy of your RV shower. Unlike their residential counterparts, RV showers are designed to be compact, lightweight, and durable – after all, they need to withstand the rigors of life on the open road. But this doesn’t mean they’re immune to the ravages of time and use.
One of the most common issues I’ve encountered is a decrease in water pressure. This can be caused by a variety of factors, including a clogged showerhead, a faulty water pump, or even a build-up of mineral deposits in the plumbing. Fear not, though – with a few simple tools and a bit of patience, you can diagnose and fix the problem yourself.
Tackling Common RV Shower Issues
Clogged Showerhead? No Problem!
Let’s say your RV shower is no longer delivering the powerful, refreshing spray you’ve come to expect. The first step is to inspect the showerhead. Over time, minerals and debris can accumulate, causing the water flow to slow to a trickle. Fortunately, this is an easy fix.
First, unscrew the showerhead and soak it in a solution of white vinegar and water. The vinegar will help break down the mineral buildup, allowing you to scrub the showerhead clean with an old toothbrush or a soft-bristled brush. Once it’s sparkling clean, reattach the showerhead and turn on the water – voila, your shower should be back to its former glory!
Dealing with Cracked Tiles
Another common issue I’ve encountered is cracked or damaged tiles in the RV shower. Whether it’s due to the constant vibrations of the road or the wear and tear of regular use, these unsightly cracks can not only be an eyesore but also lead to water leaks and further damage if left unchecked.
Fear not, my DIY-inclined friends – repairing cracked tiles is a relatively straightforward process. First, you’ll need to carefully remove any loose or damaged tiles, using a chisel or putty knife to pry them up. Once the area is clean and free of debris, apply a generous amount of tile adhesive to the back of the new tile and press it firmly into place. Allow the adhesive to dry completely before grouting the tiles, and you’ll have a shower that looks as good as new.
Reviving a Tired Shower Curtain
Finally, let’s talk about the ever-important shower curtain. Over time, the constant exposure to water, soap, and humidity can take a toll on this essential piece of RV shower equipment. If your curtain is looking a bit worse for wear, it’s time to give it some TLC.
Start by thoroughly cleaning the curtain, using a mild detergent and warm water. This will help remove any built-up grime or mildew. Once it’s clean, you can consider replacing the curtain altogether – look for a durable, mildew-resistant option that will stand up to the demands of RV life.
Alternatively, you can breathe new life into your existing curtain by using a fabric sealant or water-repellent spray. This will help restore the curtain’s water-resistant properties and keep it looking fresh for longer. Just be sure to follow the instructions on the product carefully, and don’t forget to let the curtain dry completely before using it again.
Embracing the DIY Spirit
As an RV enthusiast, I’ve learned that embracing the DIY spirit is essential for keeping your home away from home in tip-top shape. And when it comes to RV shower repairs, that mentality is especially important.
Sure, you could always call in a professional to handle these tasks – but where’s the fun in that? By tackling these projects yourself, you’ll not only save a few bucks but also gain a deep sense of satisfaction and pride in your handiwork. Plus, you’ll be armed with the knowledge and experience to tackle future RV maintenance challenges with confidence.
So, the next time your RV shower starts acting up, don’t despair – dive in, roll up your sleeves, and get to work! With a little elbow grease and the guidance provided in this article, you’ll be well on your way to restoring your shower to its former glory. And who knows, you might even discover a hidden talent for plumbing or tile work in the process.
Conclusion: Embracing the RV Shower Repair Journey
In conclusion, maintaining the integrity of your RV’s shower is crucial for ensuring a comfortable and enjoyable camping experience. From clogged showerheads to cracked tiles and tired curtains, the challenges can seem daunting – but with the right mindset and a bit of DIY know-how, you can conquer them with ease.
Remember, the key to successful RV shower repairs is to approach each task with patience, attention to detail, and a healthy dose of problem-solving spirit. And don’t be afraid to get your hands dirty – the more you practice these skills, the more confident you’ll become in your ability to keep your RV in top-notch condition.
So, what are you waiting for? Grab your tools, roll up your sleeves, and let’s get to work on reviving that RV shower! Who knows, you might even find that the process is as satisfying as the final result. Happy repairing, my fellow RV enthusiasts – the open road awaits!
