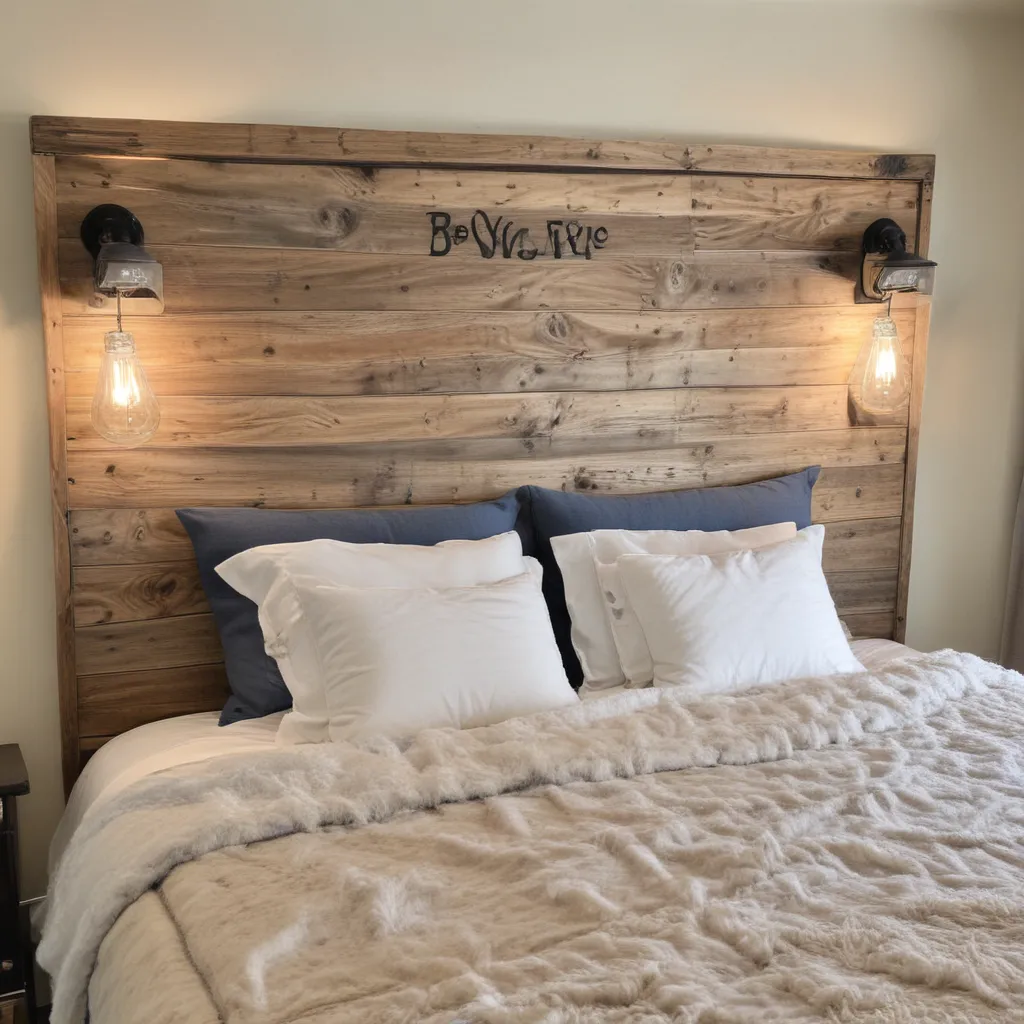
Transforming Your RV Bedroom: Embracing DIY Headboard Bliss
I’ll never forget the day I decided to tackle my RV’s bedroom decor. It was a Saturday morning, and I was sipping my coffee, gazing around the space, when it hit me – this tiny little nook needed a serious facelift. The old headboard was sagging, the bedding was drab, and the overall vibe was just… well, let’s just say it lacked the cozy, personalized touch I craved.
That’s when the lightbulb moment struck. “I’m going to create my own DIY RV headboard!” I exclaimed, spilling my coffee in my excitement. Luckily, I’ve always been a bit of a DIY enthusiast, so the prospect of crafting a custom headboard for my home-on-wheels filled me with giddy anticipation.
Budgeting for Your DIY RV Headboard Project
Now, I know what you might be thinking – “DIY? On a budget? In an RV? Good luck with that!” But let me tell you, it’s absolutely doable, and I’m here to show you how.
The key is to approach this project with a strategic mindset. Before I even began sketching out ideas, I sat down and assessed my budget. After all, the last thing I wanted was to end up with a DIY disaster that cost more than a pre-made headboard. So, I crunched the numbers, factored in the cost of materials, and set a realistic spending limit.
Here’s a quick breakdown of the budget-friendly supplies I ended up using:
| Material | Cost |
|---|---|
| Foam board | $20 |
| Fabric (2 yards) | $30 |
| Staple gun and staples | $15 |
| Decorative trim/embellishments | $10 |
| Total | $75 |
I know, I know – it’s hard to believe you can create a custom RV headboard for under $100, but trust me, it’s entirely possible. The key is to get creative with your materials and be willing to get a little scrappy. After all, isn’t that what DIY is all about?
Designing Your Dream RV Headboard
With my budget set, it was time to start brainstorming the design. I pulled out my trusty sketchpad and began doodling, letting my imagination run wild. Should I go for a classic tufted look? A sleek, modern panel? Or maybe something a little more whimsical, like a woven macrame masterpiece?
The options were endless, and I found myself getting lost in a Pinterest rabbit hole, scrolling through page after page of RV headboard inspo. But then, I had a realization – this headboard needed to reflect my personal style and the vibe I wanted to create in my RV’s bedroom.
So, I asked myself a few key questions:
- What colors and textures do I love?
- What kind of mood am I trying to set?
- How can I make this headboard truly unique to my space?
After some deep contemplation (and a few more spilled cups of coffee), I settled on a design that checked all my boxes. It was going to be a simple, clean-lined panel with a touch of boho flair – think neutral tones, subtle patterns, and a hint of rustic charm.
Bringing Your DIY RV Headboard to Life
With my plan firmly in place, it was time to get to work. I gathered my materials, laid out my foam board, and started cutting. Now, I’ll admit, there was a bit of trial and error involved – I had to experiment with the dimensions to ensure the headboard would fit perfectly in my RV’s nook.
But once I had the basic shape sorted, the rest was a breeze. I wrapped the foam in my chosen fabric, stapling it into place with precision (and a few colorful metaphors when the staple gun seemed to have a mind of its own). Then, I added a few finishing touches – some decorative trim, a bit of tufting, and even a set of abstract wall hangings to flank the sides.
The result? A headboard that looked like it had been plucked straight from the pages of a high-end design magazine, but with a price tag that was music to my budget-conscious ears.
Styling Your DIY RV Headboard for Maximum Impact
With my custom headboard in place, it was time to take the RV bedroom makeover to the next level. I started by swapping out the old bedding for a fresh set of linens that complemented the headboard’s color scheme. Then, I added in some throw pillows, a cozy blanket, and even a set of fairy lights to create a warm, inviting ambiance.
But the real magic happened when I stepped back and looked at the whole picture. Suddenly, my once-uninspired RV bedroom had been transformed into a serene, stylish oasis – a true reflection of my personal taste and the carefree, adventurous spirit that comes with the RV lifestyle.
Enjoying the Fruits of Your DIY Labor
As I sit here, sipping my coffee (this time without any spills) and admiring my handiwork, I can’t help but feel a sense of pride and accomplishment. Sure, there were a few hiccups along the way, but the end result is something I truly love. And the best part? I can kick back, relax, and enjoy my cozy little RV haven, knowing that I created it all with my own two hands (and a healthy dose of determination).
So, if you’re feeling inspired to tackle your own RV headboard project, I say go for it! With a little creativity, a bit of elbow grease, and a keen eye for budget-friendly materials, you can transform your RV’s bedroom into a sanctuary that truly feels like home. Who knows, you might even surprise yourself with your DIY prowess – I know I did!
Now, if you’ll excuse me, I think it’s time for a cozy afternoon nap in my newly-minted RV oasis. Ah, the sweet life of the DIY RV enthusiast!
