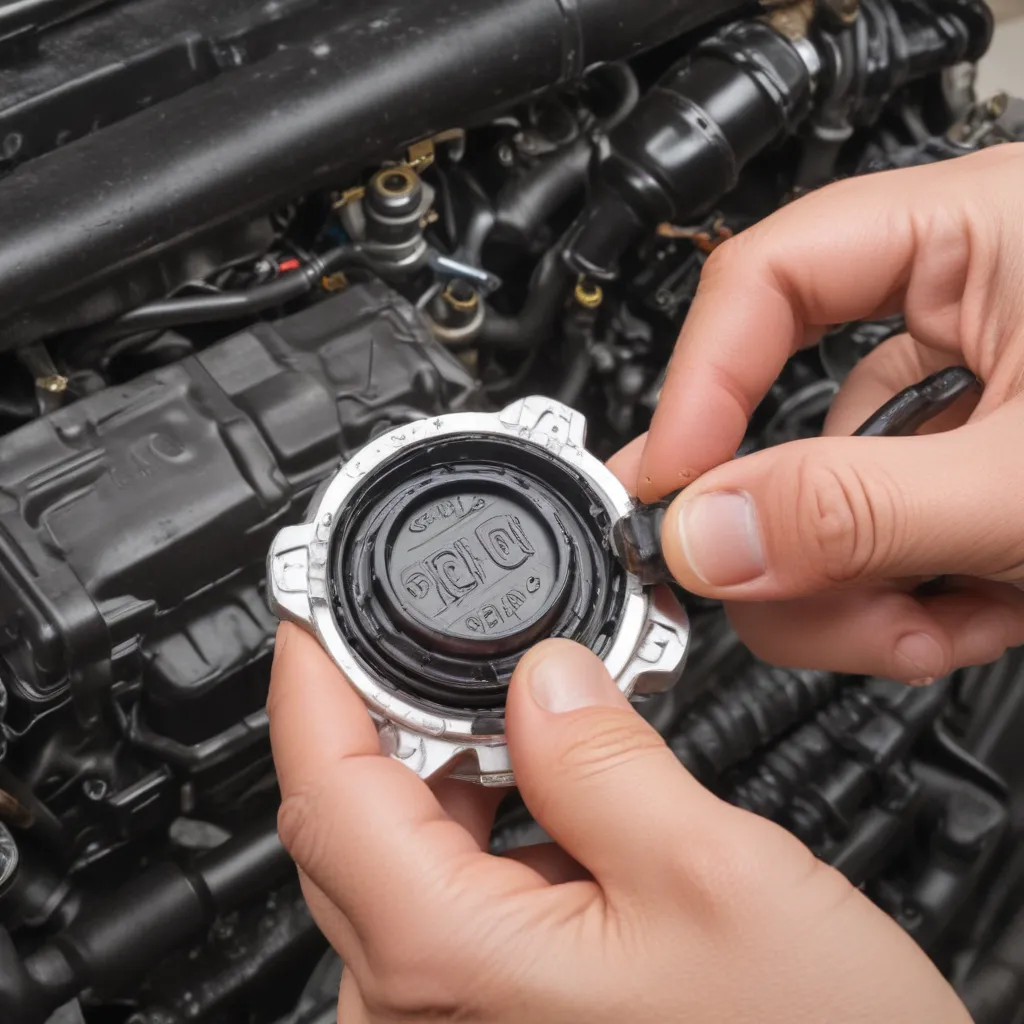
Understanding the Importance of the Radiator Cap Seal
As the proud owner of an RV or a fleet vehicle, I know all too well the importance of maintaining your ride in tip-top shape. And one of the often-overlooked, yet critical components that can make or break your vehicle’s performance is the humble radiator cap seal. This unassuming little piece of rubber or silicone can be the difference between a smooth, uneventful journey and a roadside breakdown that leaves you stranded and frustrated.
You see, the radiator cap seal is tasked with a rather important job – it helps to maintain the proper pressure within the cooling system, ensuring that the coolant circulates efficiently and does its job of keeping your engine at the ideal operating temperature. When that seal starts to wear down or fail, it can lead to all sorts of problems, from coolant leaks to engine overheating and beyond.
Identifying Coolant Leaks
But how can you tell if that pesky radiator cap seal is giving up the ghost? Well, my friends, the first telltale sign is usually a coolant leak. Now, I know what you’re thinking – “A coolant leak? Surely that’s easy to spot, right?” Well, not always. You see, these leaks can be tricky little buggers, hiding in the most unexpected places and often going unnoticed until they’ve caused some serious damage.
That’s why it’s so important to be vigilant and keep an eye out for any signs of coolant pooling or dripping around the radiator, hoses, or even the engine itself. Sometimes, the leak can be so small that it’s only visible when the engine is hot and the coolant is under pressure. Other times, you might notice a drop or two on the ground, or even a tell-tale white, crusty buildup around the affected area.
Checking the Radiator Cap Seal
But how do you actually go about checking the radiator cap seal for any potential issues? Well, my friends, it’s a pretty straightforward process, but one that’s often overlooked by DIY mechanics and fleet managers alike.
First and foremost, you’ll want to make sure your engine is completely cool before you even think about touching that radiator cap. Trust me, you don’t want to be the one who ends up with a face full of scalding hot coolant. Once you’re sure the engine has had a chance to cool down, you can go ahead and carefully remove the radiator cap.
Now, take a good look at the seal itself. Is it cracked, worn, or even missing entirely? If so, then you’ve likely found the culprit behind your coolant leak. But don’t worry, replacing that little guy is usually a pretty straightforward and inexpensive repair.
Replacing the Radiator Cap Seal
Now, if you do determine that the radiator cap seal needs to be replaced, the process is thankfully pretty simple. In most cases, you can simply remove the old seal and pop in a new one – no fancy tools or specialized knowledge required.
Just be sure to choose a replacement seal that’s specifically designed for your make and model of vehicle. You can usually find them at your local auto parts store or even order them online. And if you’re not comfortable tackling the job yourself, don’t hesitate to reach out to a trusted mechanic or RV repair specialist. They’ll be able to get the job done quickly and efficiently, and have you back on the road in no time.
The Consequences of Neglecting the Radiator Cap Seal
Now, I know what you might be thinking – “Why should I even bother with this radiator cap seal thing? It’s just a small, seemingly insignificant part, right?” Well, my friends, let me tell you, neglecting this little piece of rubber or silicone can have some pretty serious consequences.
For starters, that coolant leak I mentioned earlier? It’s not just a minor inconvenience. Coolant leaks can quickly lead to major issues, like engine overheating, which can cause all sorts of damage to your vehicle’s vital components. And let’s not forget about the environmental impact – that leaked coolant can be a real hazard, both for you and the world around you.
But the problems don’t stop there. If that radiator cap seal fails completely, you could end up with a catastrophic loss of coolant, which can result in a complete engine failure. And trust me, that’s not the kind of repair you want to be dealing with – it’s usually a pricey and time-consuming affair.
Preventive Maintenance is Key
So, what’s the moral of this little tale, you ask? Well, my friends, it’s simple – preventive maintenance is key when it comes to keeping your RV or fleet vehicle in tip-top shape. And that includes regularly checking and, if necessary, replacing the radiator cap seal.
Now, I know it might not be the most glamorous or exciting task on your maintenance to-do list, but trust me, it’s one that’s well worth your time and effort. After all, who wants to be stranded on the side of the road, waiting for a tow truck to come and rescue them? Not me, that’s for sure.
So, take a few minutes every few months to pop that radiator cap and give the seal a good once-over. And if you notice any signs of wear or damage, don’t hesitate to swap it out for a fresh one. Your vehicle – and your peace of mind – will thank you for it.
And remember, if you’re ever in the Orange County, California area and need a little help with your RV or fleet vehicle maintenance, be sure to check out Orange County RV Repair. We’ve got a team of experienced technicians who are always happy to lend a hand – no matter how big or small the job might be.
