I’m here to guide you through the ins and outs of maintaining and repairing fleet vehicle brakes. Did you know that brake failure is a leading cause of accidents on the road? That’s why it’s crucial to have a solid understanding of brake system basics. In this step-by-step guide, I’ll walk you through inspecting brake components, checking fluid levels, bleeding the system, and more. Get ready to keep your fleet’s brakes in top shape and ensure the safety of your drivers.
Understanding Brake System Components
In the brake system, an essential component is the brake pedal, which allows me to control the vehicle’s stopping power. The brake pedal is connected to the master cylinder, which houses the brake fluid. When I apply pressure to the pedal, it forces the brake fluid through the brake lines, which in turn activates the brake calipers or wheel cylinders. These components then apply pressure to the brake pads or shoes, creating friction against the rotors or drums, ultimately stopping the vehicle. To ensure optimal performance, regular brake system maintenance is crucial. This includes inspecting brake pads and shoes for wear, checking brake fluid levels, and examining brake lines for leaks or damage. If any issues arise, troubleshooting the brake system promptly is essential to avoid potential accidents and maintain safety on the road.
Inspecting Brake Pads and Shoes
To begin inspecting brake pads and shoes, I will start by removing the wheels to gain access to the braking system. This will allow me to thoroughly examine the brake pads and shoes for signs of wear and tear. Here are the key things to look out for during the inspection:
- Brake pad thickness: Measure the thickness of the brake pad using a caliper. If the pad is less than 1/8 inch thick, it needs to be replaced immediately.
- Shoe lining wear: Check the shoe lining for any signs of excessive wear. If the lining is less than 1/16 inch thick, it should be replaced.
- Cracks or damage: Inspect the brake pads and shoes for any cracks or signs of damage. Even small cracks can compromise the braking performance and should be addressed.
- Uneven wear: Ensure that the brake pads and shoes wear evenly. If there are any signs of uneven wear, it could indicate a problem with the braking system that needs to be addressed.
Checking Brake Fluid Levels
Checking the brake fluid levels is an essential part of maintaining fleet vehicle brakes. Regular checks ensure that the brake system is functioning properly and can prevent potential issues. Signs of low brake fluid include a soft or spongy brake pedal, the brake warning light illuminating, or difficulty in stopping the vehicle.
Importance of Regular Checks
I always make it a priority to regularly check the brake fluid levels in fleet vehicles. This is because maintaining proper brake fluid levels is crucial for the overall performance and safety of the brake system. Here are four reasons why regular checks are important:
- Optimal Brake Performance: Brake fluid is essential for transferring the force from the brake pedal to the brake components. By ensuring the brake fluid levels are adequate, you can maintain optimal brake performance.
- Preventing Brake Failure: Low brake fluid levels can lead to brake failure, resulting in the loss of braking power. Regular checks help identify any leaks or decrease in fluid levels, preventing potentially dangerous situations.
- Extending Brake System Lifespan: Adequate brake fluid levels help protect the brake components from excessive wear and damage. Regular checks and proper maintenance can extend the lifespan of the brake system.
- Cost Savings: By detecting and addressing any brake fluid issues early on, you can avoid expensive repairs and replacements in the future.
Signs of Low Fluid
How can I determine if the brake fluid levels in my fleet vehicle are low? Checking the brake fluid levels regularly is crucial for maintaining the performance and safety of your fleet vehicles. Low brake fluid levels can lead to reduced braking power and potential brake failure. There are a few signs that indicate low fluid levels, such as a spongy brake pedal, a warning light on the dashboard, or a noticeable decrease in braking performance. To accurately check the fluid levels, follow these steps:
| Steps | How to Check Fluid Levels Accurately |
|---|---|
| Park the vehicle | Make sure the vehicle is on a level surface and in park or neutral. |
| Locate the master cylinder | Open the hood and locate the master cylinder near the firewall. |
| Check the fluid level | Remove the cap from the master cylinder and visually inspect the fluid level. |
| Add fluid if necessary | If the fluid level is below the recommended level, add the appropriate brake fluid until it reaches the correct level. |
Regularly checking and maintaining the brake fluid levels will help ensure the safety and reliability of your fleet vehicles.
Bleeding the Brake System
Bleeding the brake system is a crucial step in maintaining optimal brake performance. By removing air bubbles from the brake lines, proper bleeding ensures that the brakes function efficiently and reliably. To achieve this, it is essential to follow the correct bleeding techniques, such as starting with the wheel furthest from the master cylinder and using the appropriate tools and equipment.
Importance of Brake Bleeding
Maintaining proper brake performance is crucial for fleet vehicle safety, making brake bleeding an essential maintenance task. Brake bleeding is the process of removing air bubbles from the brake system to ensure optimal brake performance. Here are four key reasons why brake bleeding is important:
- Improved braking efficiency: Air bubbles in the brake system can cause spongy or inconsistent brake pedal feel, reducing braking efficiency. Brake bleeding eliminates these air bubbles, allowing for a more responsive and consistent braking experience.
- Enhanced safety: Effective braking is vital for safe driving. By eliminating air bubbles, brake bleeding helps prevent brake failure, reducing the risk of accidents and ensuring the safety of fleet drivers and passengers.
- Extended brake component life: Air bubbles can lead to increased wear and tear on brake components, such as brake pads and rotors. Brake bleeding helps maintain proper brake fluid pressure, reducing unnecessary strain on these components and prolonging their lifespan.
- Cost savings: Regular brake bleeding can help identify and address potential brake system issues early on, preventing more expensive repairs down the line. It is a cost-effective maintenance task that can save fleets money in the long run.
Proper Bleeding Techniques
To properly bleed the brake system, I start by ensuring all necessary tools and equipment are readily available. This includes a brake bleeding kit, a wrench, a clean container to catch the brake fluid, and fresh brake fluid of the appropriate type. The first step is to locate the brake bleed screw on each wheel. Starting with the wheel furthest from the master cylinder, I attach a clear plastic tube to the bleed screw and submerge the other end in the container. With the help of a partner, I open the bleed screw and have them slowly depress the brake pedal. As the pedal is depressed, I observe the fluid flowing through the tube, making sure there are no air bubbles. Once the fluid appears clean and free of bubbles, I close the bleed screw and move on to the next wheel, repeating the process. It is important to follow the correct sequence and avoid rushing, as common brake bleeding mistakes can include introducing air into the system or not properly tightening the bleed screw.
Adjusting Brake Calipers
I regularly adjust the brake calipers to ensure optimal performance and safety of fleet vehicles. Adjusting brake calipers is an essential maintenance task that helps troubleshoot brake performance issues and maintain proper braking efficiency. Here are four key steps to effectively adjust brake calipers:
- Inspect the caliper: Start by visually inspecting the caliper for any signs of damage or wear. Check for loose or missing bolts, leaks, or excessive brake dust.
- Adjust the caliper piston: Using a brake caliper tool, rotate the piston clockwise to retract it fully. This step is crucial to accommodate new brake pads or restore proper clearance.
- Verify caliper alignment: Ensure that the caliper is properly aligned with the brake rotor. Any misalignment can cause uneven pad wear or brake noise.
- Test brake operation: After adjusting the caliper, conduct a thorough test drive to evaluate brake performance. Listen for any abnormal noises and check for smooth and consistent braking.
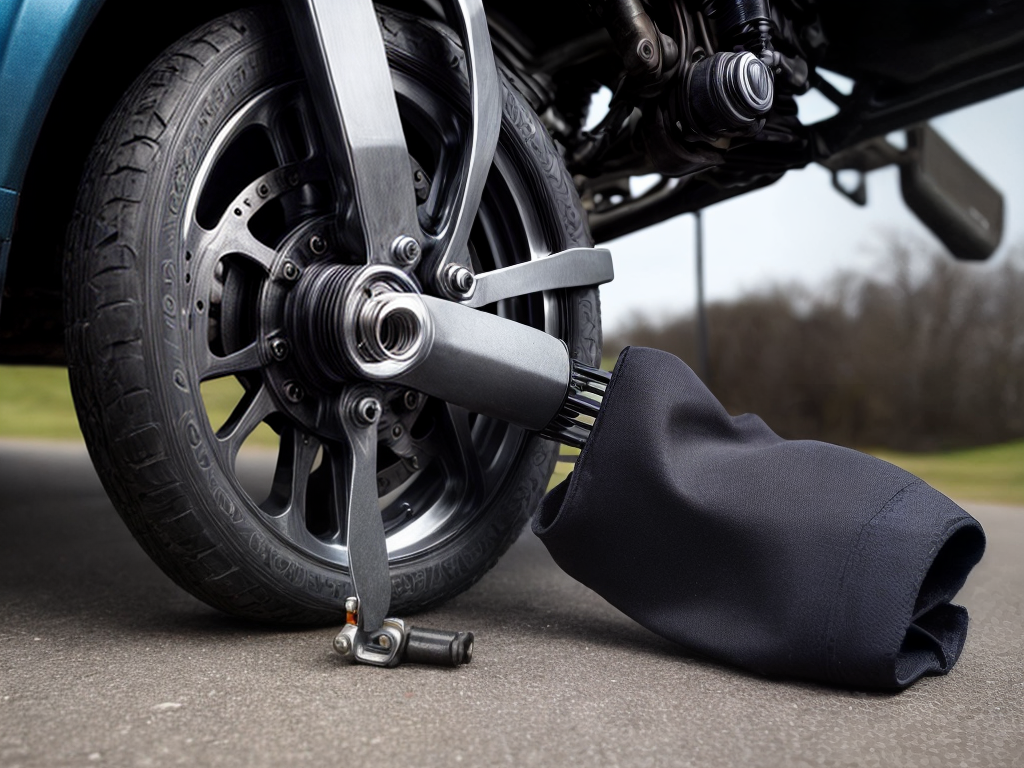
Examining Brake Rotors and Drums
When examining brake rotors and drums, it is important to carefully inspect them for any signs of damage or wear. The brake rotors are the flat, disc-shaped components that the brake pads press against to create friction and slow down the vehicle. If the rotors are worn or damaged, they may need to be replaced. This can be done by removing the wheel, caliper, and brake pads, and then unbolting the rotor from the hub. On the other hand, the brake drums are cylindrical components that the brake shoes press against to create friction. When inspecting the brake drums, it is crucial to look for any signs of cracking, grooving, or excessive wear. If the drums are damaged beyond repair, they will need to be replaced. Regular brake rotor replacement and brake drum inspection are essential for maintaining the overall braking performance and safety of fleet vehicles.
Troubleshooting Brake Noise
One possible cause of brake noise can be attributed to the presence of debris between the brake pads and rotors. When diagnosing brake noise, it is important to thoroughly inspect the brake system for any signs of debris buildup. Here are four steps to troubleshoot brake noise and ensure optimal brake performance:
- Remove the wheels and visually inspect the brake pads and rotors for any signs of debris or damage.
- Clean the brake pads and rotors using a brake cleaner to remove any accumulated debris.
- Inspect the brake calipers for proper alignment and functionality.
- Lubricate the brake system components, including the caliper pins and brake pad shims, to prevent brake noise caused by friction.
Addressing Brake Warning Lights
To address brake warning lights, it is crucial to promptly identify and resolve any potential issues within the brake system. These warning lights serve as an important indicator of problems that require immediate attention. When troubleshooting brake warning lights, it is important to consider various factors such as the brake fluid level, brake pad wear, and the condition of the brake lines. Below is a table that outlines some common causes and possible solutions for brake warning lights:
| Warning Light | Possible Cause | Possible Solution |
|---|---|---|
| ABS Light | ABS sensor failure | Check and replace faulty sensor |
| Brake Fluid Light | Low brake fluid | Check fluid level and top up if necessary |
| Brake Pad Light | Worn brake pads | Inspect and replace worn brake pads |
Addressing brake warning lights promptly is essential to ensure the safety and proper functioning of the vehicle’s braking system. By following the troubleshooting steps and taking appropriate action, potential issues can be resolved, preventing further damage and costly repairs.
Regular Brake System Maintenance Tips
To properly maintain the brake system, I regularly perform a series of maintenance tasks to ensure optimal performance and safety. Here are four essential brake system maintenance tips that can help prevent common brake system problems:
- Check brake fluid levels: Regularly inspect the brake fluid reservoir and top it off if necessary. Brake fluid should be replaced every two years or as recommended by the vehicle manufacturer.
- Inspect brake pads and rotors: Check the thickness of the brake pads and look for any signs of wear or damage. Also, inspect the rotors for any scoring or warping. Replace worn-out pads and damaged rotors promptly.
- Test the brake pedal: Ensure that the brake pedal feels firm and responsive. If it feels spongy or goes all the way to the floor, it may indicate air in the brake lines or a potential brake system problem.
- Follow a brake system maintenance schedule: Adhere to the manufacturer’s recommended maintenance schedule for your fleet vehicles. Regular inspections and servicing will help identify potential issues before they become major problems.